ConvertKit is a new, powerful and incredibly easy to use email marketing service for professional bloggers. Contact Form 7 is actively installed in over 1 million WordPress blogs and websites.
Here's how to integrate CF7 with ConvertKit, so that the sender is automatically subscribed to a ConvertKit Form when they send you a contact email. It's very simple and only takes a few minutes to set up using a free third party plugin from the wordpress.org plugin repository.
Before we begin you may find it helpful to download a pdf of the instructions, so you can easily read them while working on the integration. You can get this by quickly downloading my ConvertKit Integrations Guide.
Step-by-step guide to integrating Contact Form 7 with ConvertKit.
These instructions assume:
a) In WordPress you have Contact Form 7 up and running, and have an active form on your site.
b) You have signed up for a ConvertKit account.
c) In ConvertKit, you have a Form set up that you wish to use, and have an incentive email active for the form.
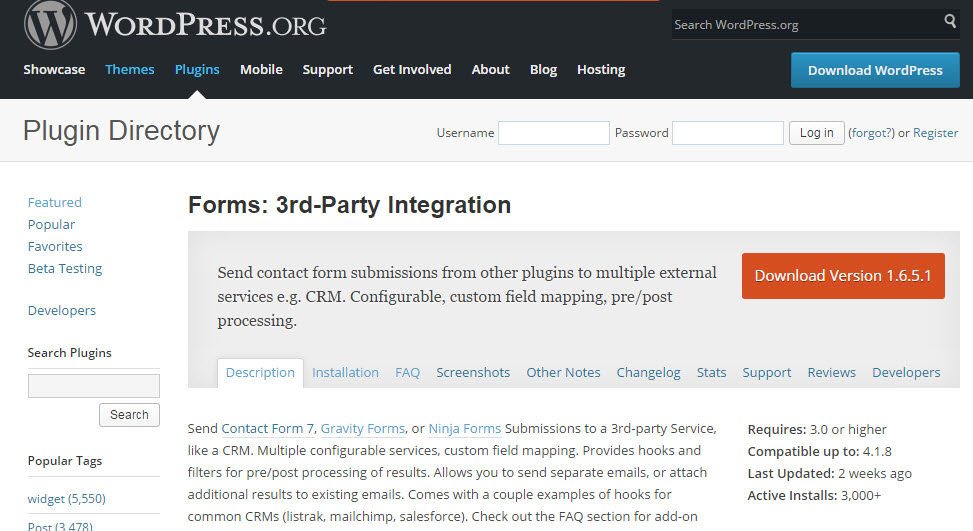
1. Install and activate Forms: 3rd-Party Integration from the wordpress.org plugin repository.
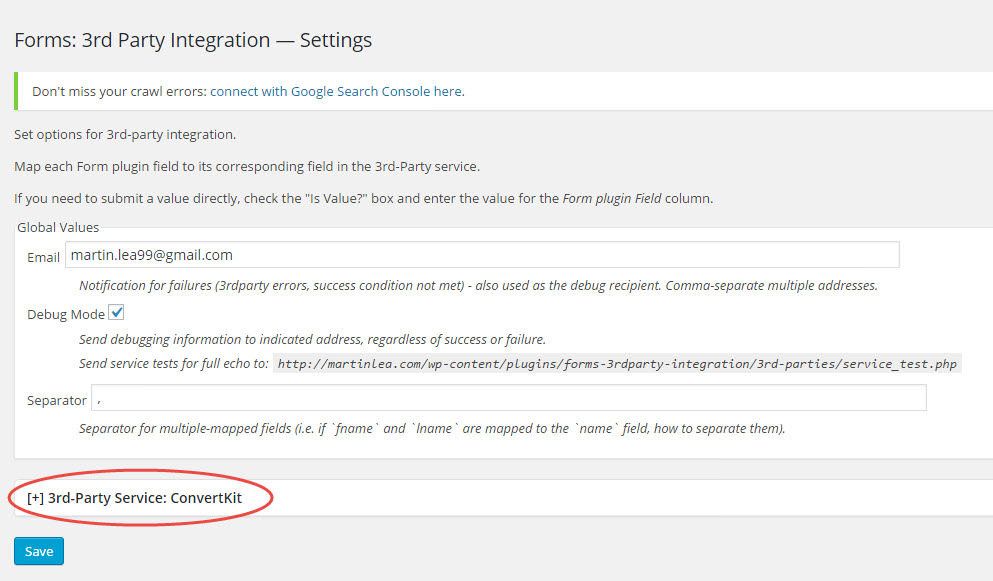
2. In the WordPress Dashboard, go to Contact/3rdparty services.
3. Click on [+] 3rd-Party Service.
4. For Service Name enter ConvertKit
5. For Submission URL paste this link
https://app.convertkit.com/landing_pages/xxxx/subscribe
6. Now go to ConvertKit and select the form you wish to connect to. Note the landing page number for the form. You can see this in the address bar.
![]()
Change the xxxx in the above link to the landing page number for your ConvertKit form. Your Submission URL should look like this.
7. From the drop-down menu Select the Contact Form 7 form you wish to use.
8.Scroll down to mapping. This is where you map the Contact Form 7 fields to the ConvertKit form fields.
9. The default CF7 fields to map are “your-name”, and “your-email”. In the first row under Form Submission Field enter “your-name”. and in the 3rd-Party Field enter “first_name”. Click on the little green + button on the right to create a new row of mapping fields. In the second row, enter “your-email” in the Form Submission Field, and “email” in the 3rd-Party Field. Obviously if you have customized your CF7 field names you need to enter the custom field names you're using. However, ConvertKit only recognizes “first_name” and “email” so make sure you've mapped the relevant CF7 name and email fields to those ConvertKit field names.
10. Click Save.
Your field-mapping should look like this.

This should now work, so try sending a form. The recipient should get the email as usual, and now the sender should get the incentive email from ConvertKit.
If it doesn't work just check the submission URL is correct, and the two field-mappings are correct.
11. If you want the sender to be redirected to a custom page, such as a Thank You page on your website, or a Landing page in ConvertKit, you need to go add some custom code to your contact form.
- In the Dashboard, go to Contact/Contact Forms and select the form you wish to edit.
- Select the Additonal Settings Tab.
- Paste the following line of code in the code field.
on_sent_ok: “location = ‘http://example.com/';” - Replace example.com with the URL you wish to redirect the Sender to.
That's it. Send a test form, then go to ConvertKit to check your subscription.
If you're a Twitter user and you found this guide helpful, please tweet so others can find it:
How to integrate Contact Form 7 with ConvertKit - Quick Guide Share on XPostscript
Since writing this article I've found a cheaper alternative to ConvertKit for all my email marketing requirements. I found it hard to justify spending an eye-watering $948 a year with Convertkit for a list of 5000 compared to just $168 for MailerLite. So I've ended up moving from Mailchimp to Convertkit and then to Mailer Lite where I've finally felt comfortable and satisfied with an email marketing service that meets all my needs, and is simple to use throughout.
Mailerlite has similar features to Convertkit. For example, it has a nice intuitive workflow for creating automated email series. But in many ways Mailerlite is a polished solution, providing lots of additional features, but without any clunky complexity.
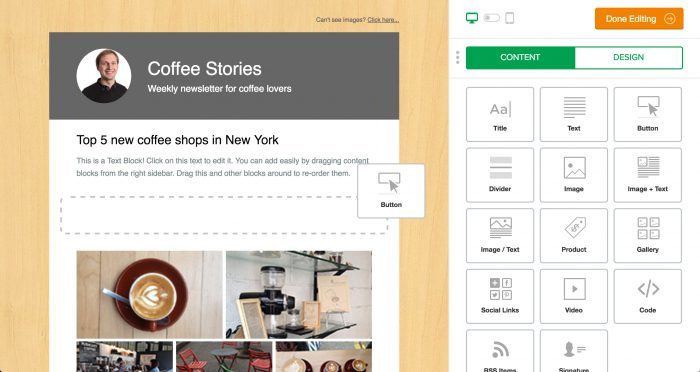
You can send simple plain emails of the kind Convertkit provide, but you also have the option to select from dozens of great functional newsletter templates . With Convertkit you quickly find yourself delving into CSS and HTML to go beyond their basic look. With MailerLite is all nice and easy and you can drag and drop content blocks to customise your newsletter. You can also choose some great landing page templates.
MailerLite has full automation features including triggers and conditional actions, so for example a subscriber can be set to receive a new autosequence if they click on a link in an email you've sent. What's more it has a nice visual display of work flows so you can easily see the overall picture. Play the 2-minute video below to see some of the features and the well-designed user experience.
Click here to get a MailerLite Forever Free Plan ►
MailerLite seems to have a fast development path and they're rolling out new features and improvements every month. They have a couple of iphone / ipad apps for viewing your stats, sending campaigns, and gathering subscriptions. Their support is fast. I seem to recall MailerLite claiming they respond on average in 7 minutes. It certainly seems fast to me. Finally, and perhaps most importantly, I haven't experienced any sending delays or deliverability problems with MailerLite.
Mailerlite is free for up to 1,000 subscribers and only $20 per month for 5,000 (compared to $79 for Convertkit). Subscribers only count once and unsubscribes no longer count towards the fee.
Oh, and you can integrate Contact Form 7 with Mailerlite simply with a free plugin. You can test drive MailerLite for yourself here.


